-
Install & open QGIS. Make sure you have the newest version.
-
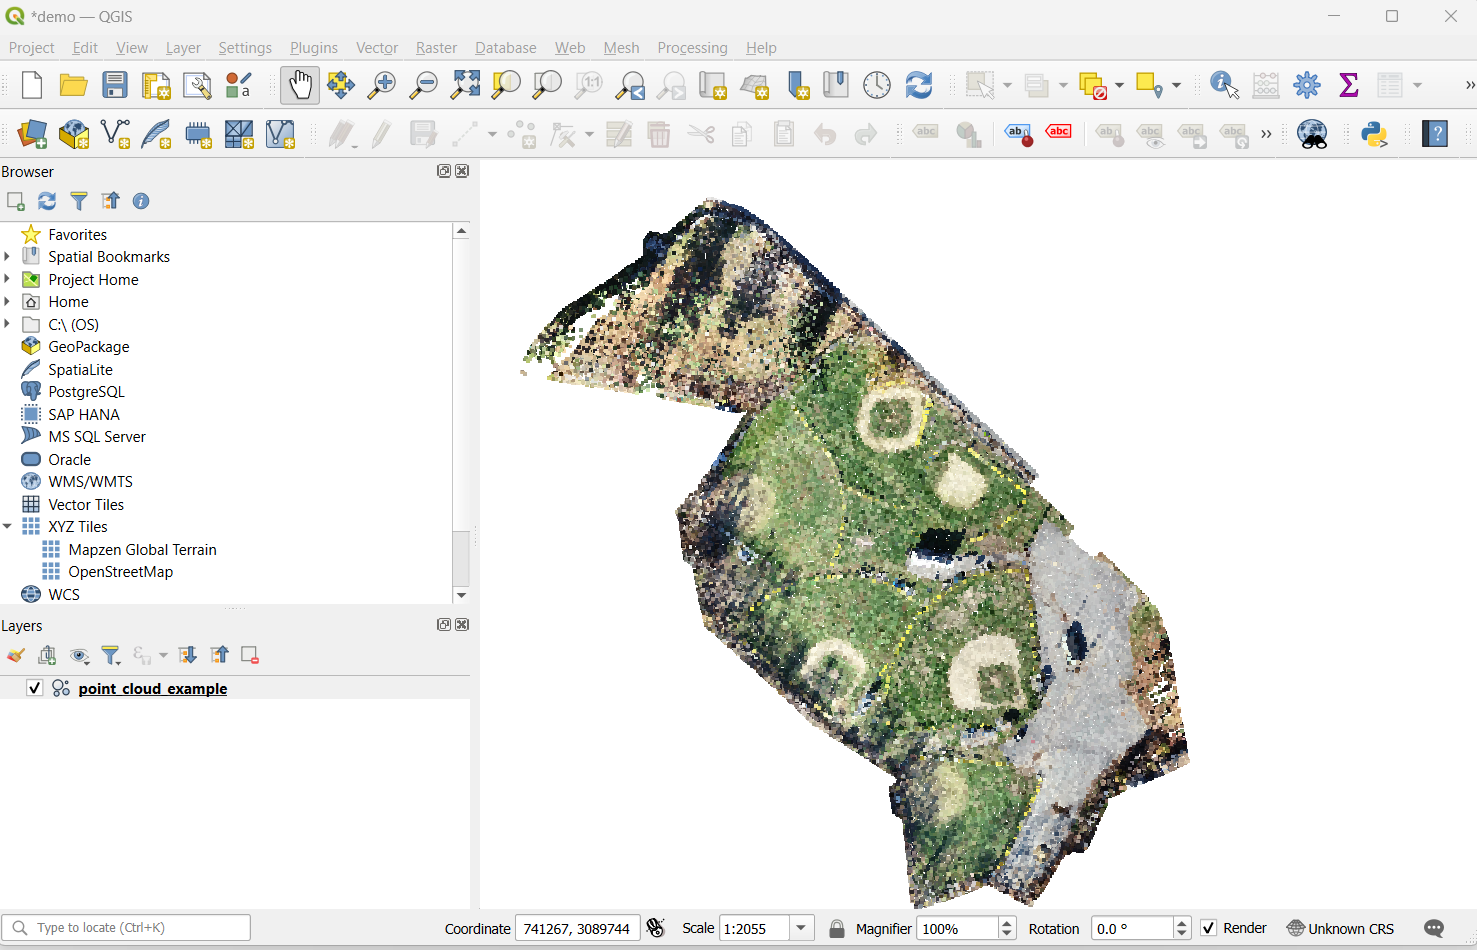
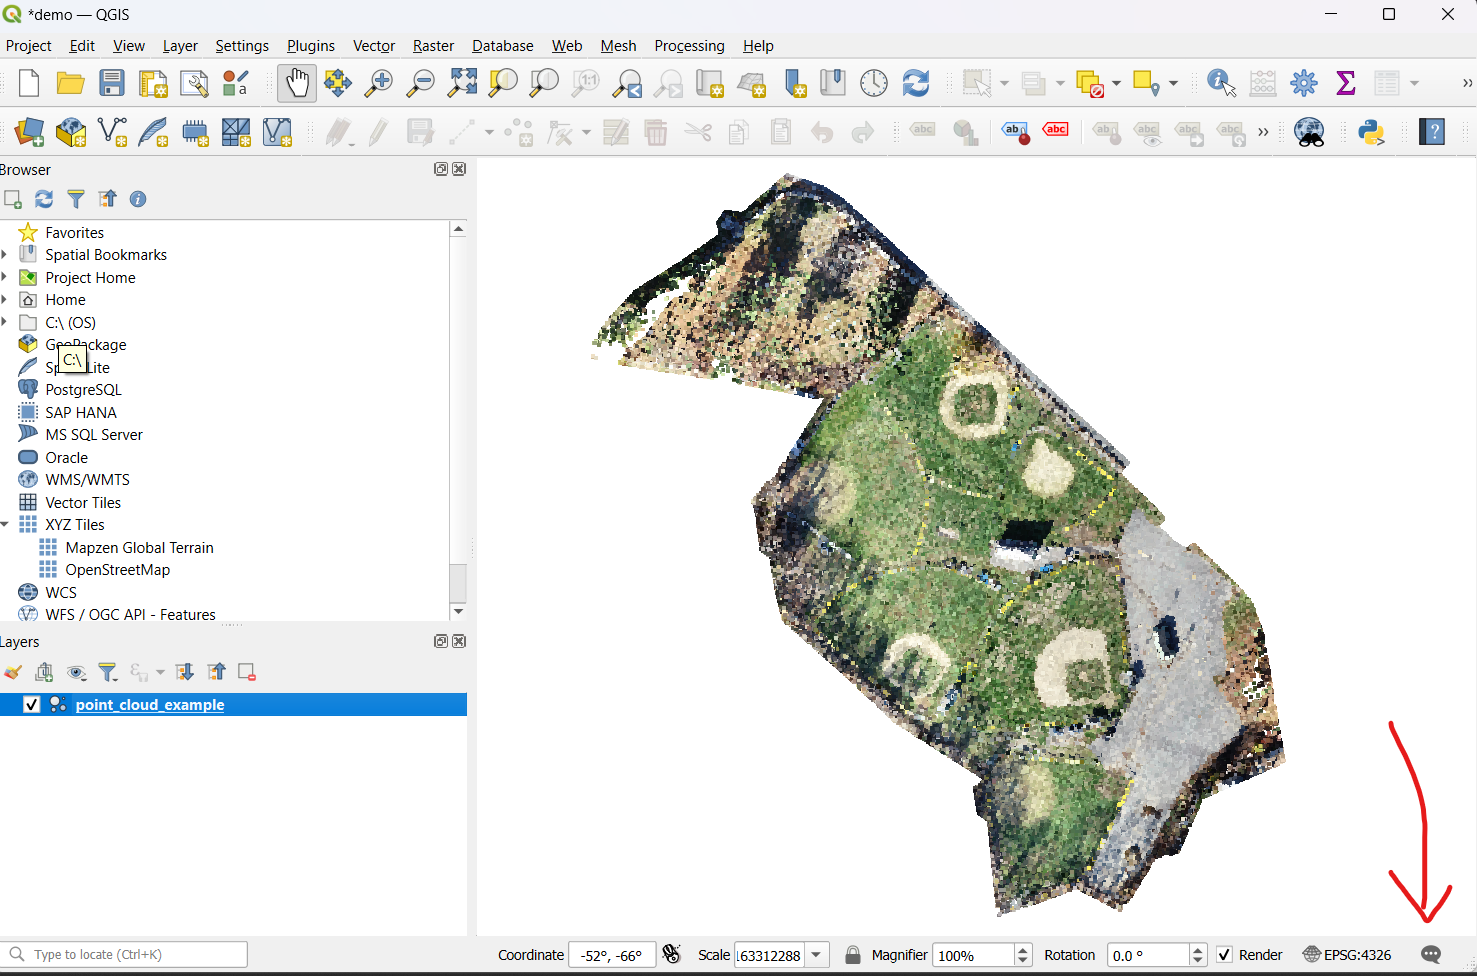
Import the LAS file by clicking and dragging it into the QGIS interface. Notice how it shows the “unknown CRS“ message in the bottom right corner.
-
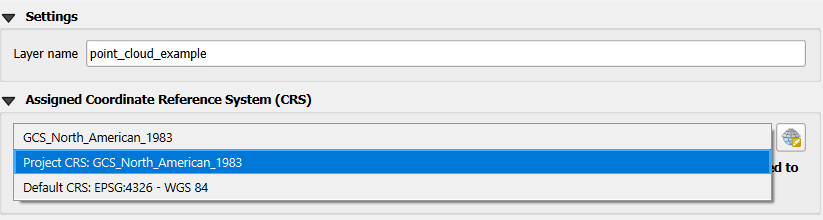
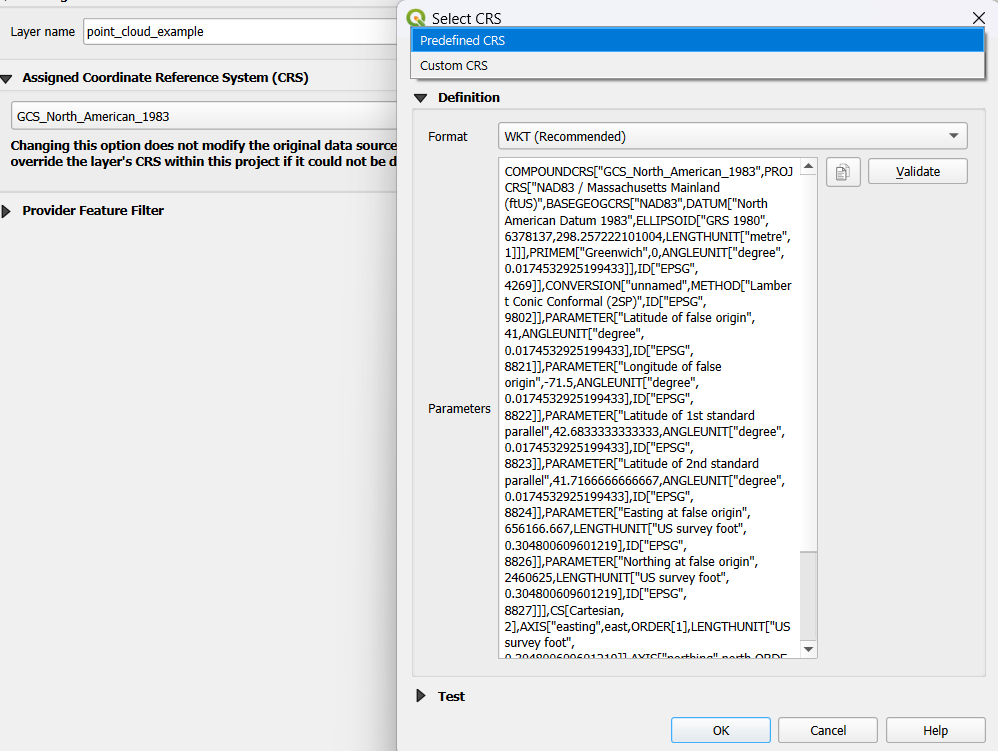
Right-click on the layer and select “Properties“ and you can find the “Source“ tab:
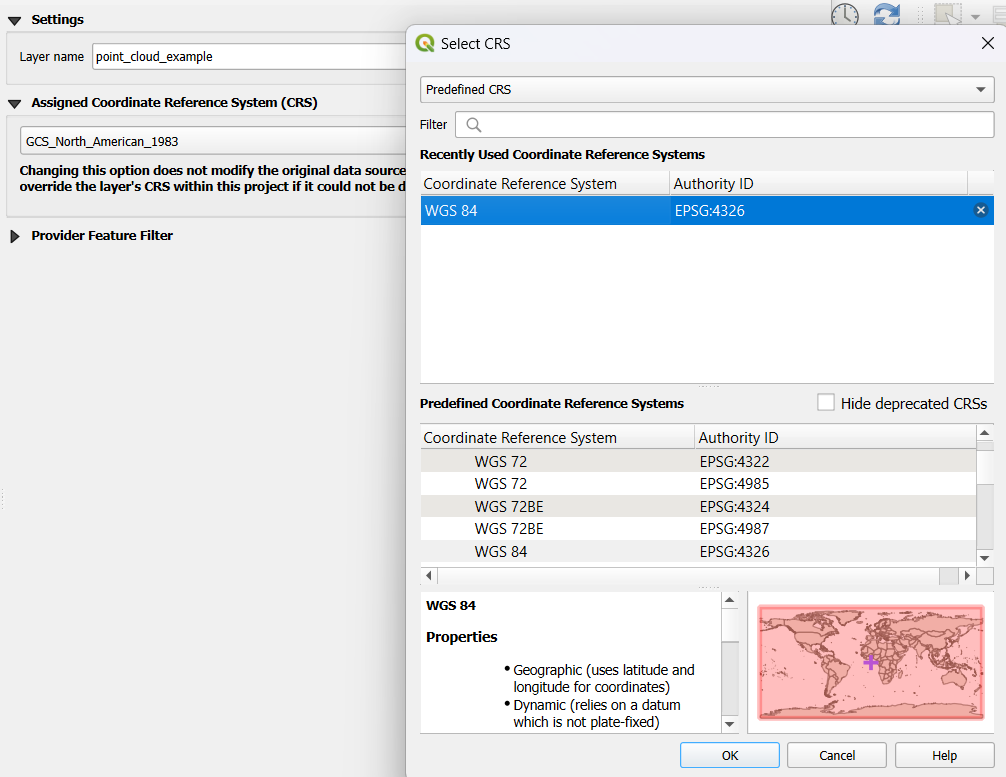
for the “Assigned Coordinate Reference (CRS)“: you can change the layer’s assigned CRS, by selecting a recently used one in the drop-down list or clicking on the set Projection Select CRS button. Or if there’s none, you can click on the select CRS icon to select a “predefined CRS“ and then select “OK“.
-
You can change the current CRS to the same now-defined one in the bottom right corner, which is “EPSG: 4326”.
-
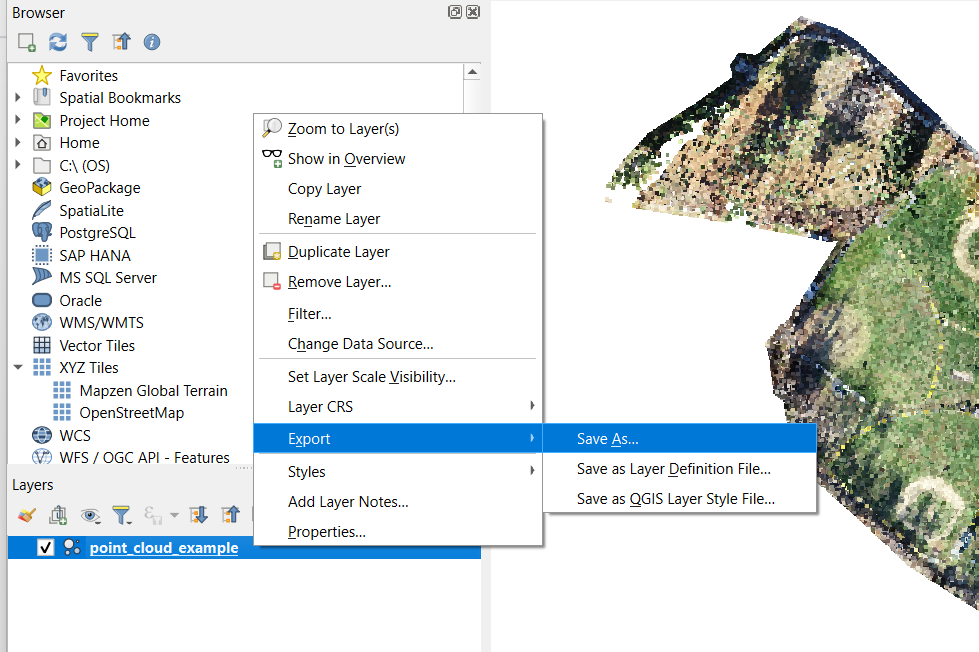
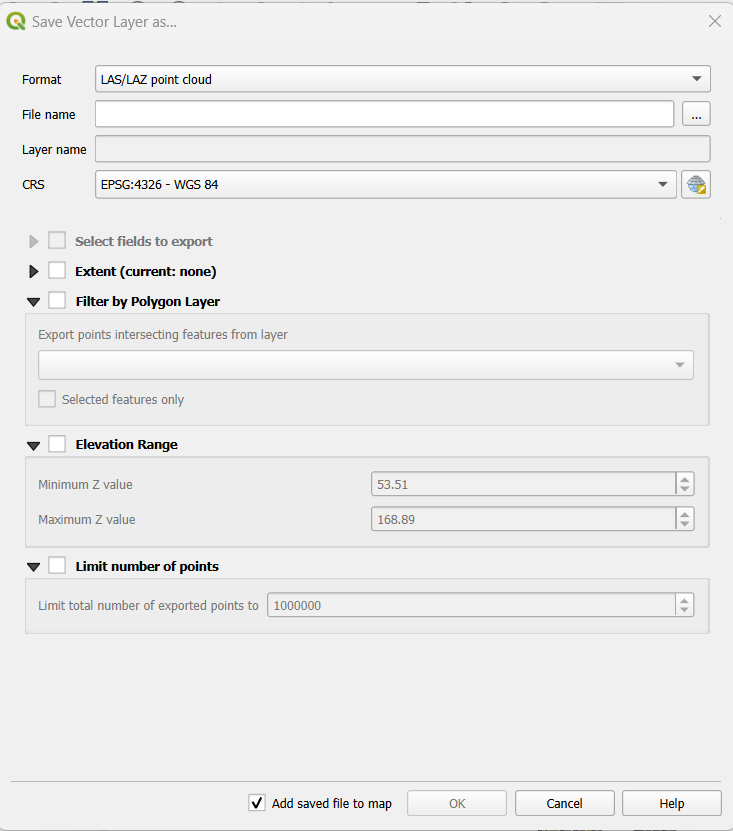
Right-click on the layer and export the file to the LAZ /LAS point cloud file type.