
Step 3: Creating a New Project
Creating a new project in AirWorks is simple and can be done in two easy steps:
#1:
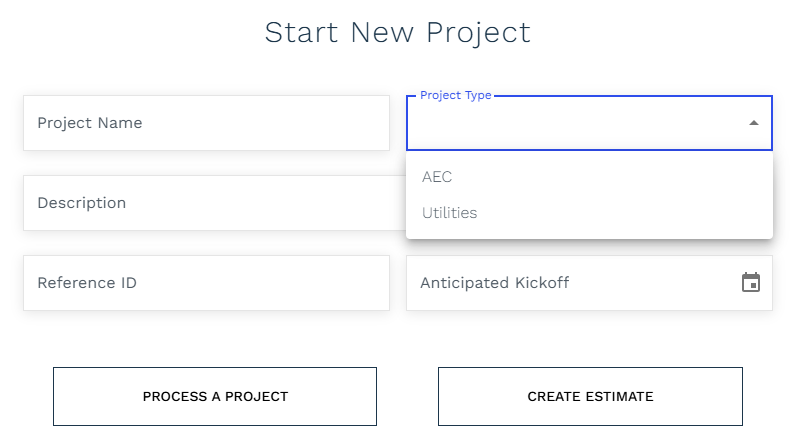
In the main screen, titled My Projects, click on the blue + button in the top right corner. You will see a screen that asks you to name, type and describe your project. You’ll also be able to add in a reference ID and anticipated date. The name of your project should be something easily recognizable and searchable, as this will make it much easier for you to access your deliverables afterward. Reference ID is an optional field that you can use to keep track of your projects, via project number. In project type you have to select either Standard (for 2D & topo related extraction scope) or Utilities (for 2D, topo & few other additional deliverables)
#2:
From here you can click on the “PROCESS A PROJECT” button. This will take you to the “Upload Data Set” page and here you can click on the button that says Upload .tif. .kml, .las and .zip files to import your chosen files. Keep in mind that uploading large files takes time, especially when doing so over limited internet bandwidth. We recommend limiting your file size to less than 4 GB, even with fast internet speeds. Once all your files finish uploading, you can click on “CONTINUE” to move on to the next step.
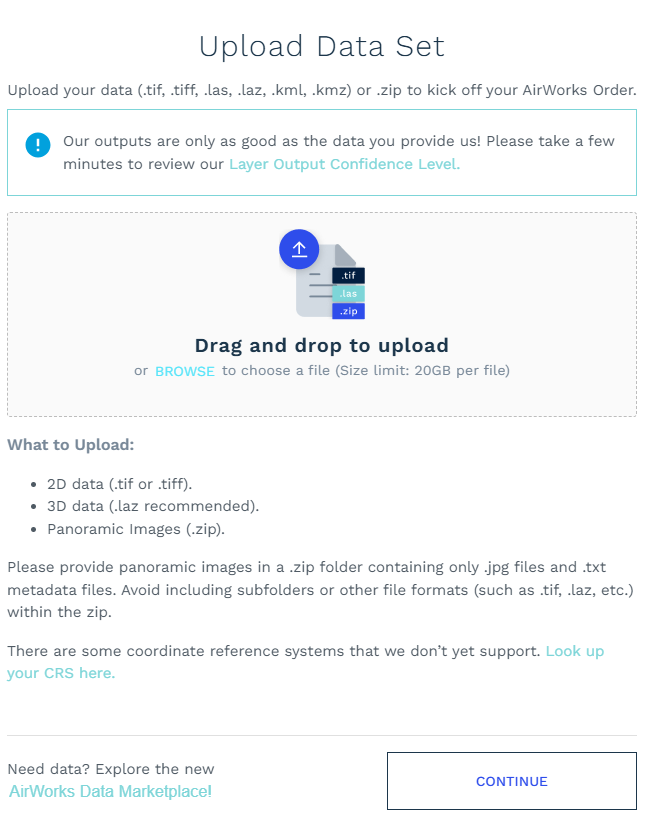
If you have issues with file uploads, it is likely a problem with file size or naming conventions, please visit our section on input data requirements to verify that your file is compatible in the AirWorks app.
Once your files are uploaded, you will be redirected to the Project Details page where you will see your orthomosaic image overlaid on a map or satellite image of the exact location of your site. From here you can begin placing orders for processing.
#3:
Under “Project Details” tab, you will find Search option where in you can enter city name or state or zip code. This will allow you to find the location on map.
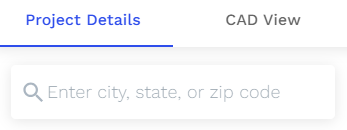
Search option
The result of this will be shown on map with location pin as highlighter.
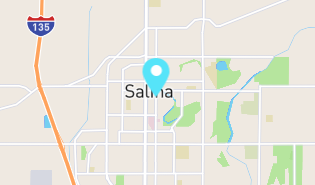
Location pin on map